
Button box
Snel naar
Although many sim racing wheels have an extensive selection of buttons and rotary encoders, I still use a button box because it makes the whole sim experience more graceful as well as more realistic. Last but not least, it just feels more authentic! In this blog, I explain to you why, should you not already have one, you too will want to get a button box. There are two options:
- Buy a ready-made button box either;
- Opt for a DIY solution (DIY Button box).
Are you handy with a soldering iron and enjoy making your own sim racing button box? Then read on. In this article, I will explain to you how to make a great DIY sim racing Button Box yourself and share my experiences of how I did it!

What is a sim racing button box?
For those who are new to the world of sim racing and don't know what a button box is. As the name suggests, it is a box with buttons 😉 But there is more to it than that! Besides buttons, a button box has (usually) rotary encoders, toggle switches and switches. This combination of parts makes a button box indispensable in the world of sim racing.
Tutorial: Create your own button box in 8 steps!
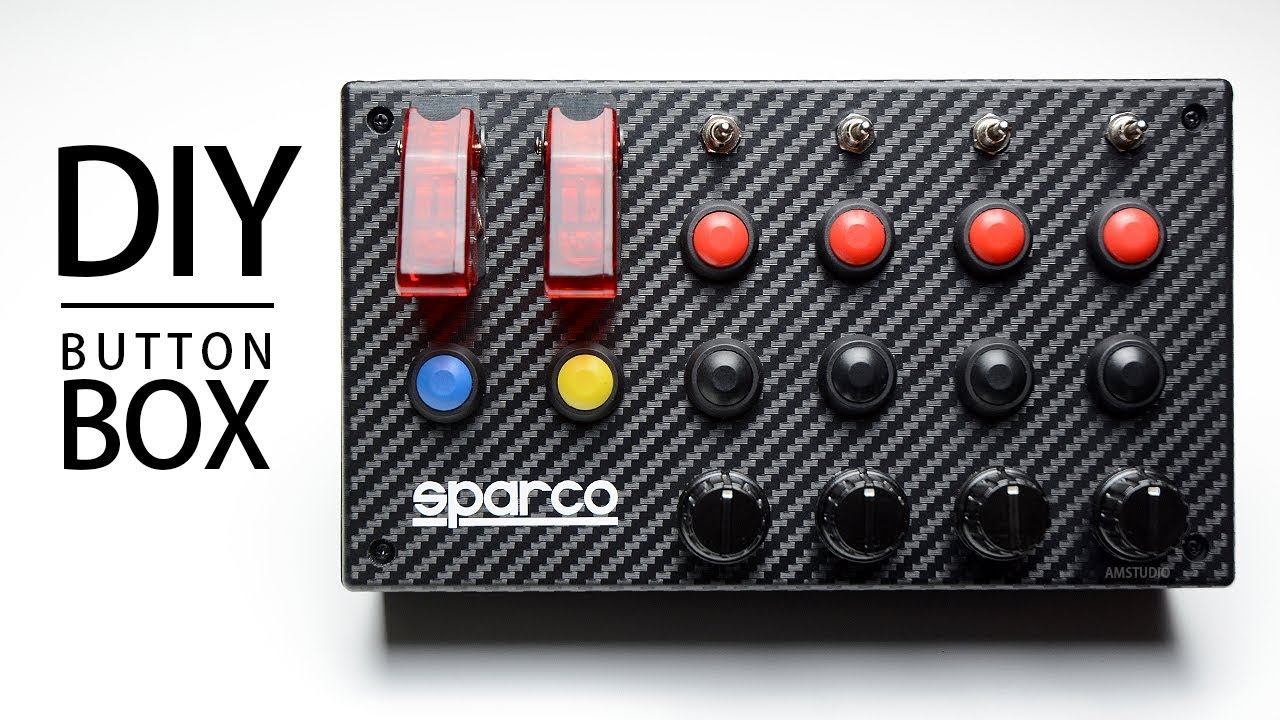
Before I tell you how to make your own button box in 8 easy steps: all credits for this fantastic tutorial go to AMSTUDIO. For just $5.30, you get a comprehensive manual with 18 easy-to-follow pages explaining step by step how to make this button box with 32 functions yourself!
The video below clearly shows the steps you need to take to get started yourself! It is incredibly simple and even without technical knowledge you can make this DIY button box. If you have the skills and feel you can handle it, watch the video below from AMSTUDIO that explains the whole process in relatively easy-to-understand steps.
Which parts do you need?
Before we start building, we need parts. You can easily order these online. I myself ordered the parts below via Aliexpress.
Parts list
- 10x - 12mm push buttons
- 4x - 3 way (On/Off/On) 3-pin momentary toggle switch
- 4x - Multifunctional rotary encoder with push button
- 1x - Arduino ProMicro
- 1x - Micro USB cable
- 2x - 2 way momentary toggle switch
- 2x - Rocker switch with plastic cover
- 1x - Plastic box (195x115x60 mm). This may also be slightly larger.
- 4x - Rotary knobs for the encoders
- Wire for soldering
Tool list
To make the button box, you will need the following tools:
- Highlighter
- Drill and drill bits
- Digital caliper
- Tape measure / ruler
- Key
- Allen spanner
- Soldering iron and wire
- Tweezers
- Screwdriver
- Wire cutters
- Wire strippers
- Tool knife
- Safety equipment
Step 1: Select all buttons and switches
The first step in making this button box is to select the various switches we need. These switches provide a total of 32 functions on your button box. See the ‘parts list’ section above which switches and buttons you need for this project.
Each button or switch has its own function. From a simple ON/OFF button to a two-piece ON/OFF switch. But also a 3-part (ON/OFF/AAN) switch and a 3-function rotary encoder. The rotary encoder is an electromechanical device that converts the position or movement of an axis into analogue or digital output signals. The rotary encoder used in this project also has a momentary push function.

Step 2: Design the button box layout
Grab a piece of paper (A4) and design your own layout for your new button box. You can also work it out digitally, of course. I myself used the layout from the AMSTUDIO manual. The 32 functioning button box from the video has the following switches, buttons and encoders:
- 2x - 2 way toggle switches (2 functions)
- 4x - 3 way toggle switches (8 functions)
- 10x - momentary push buttons (10 functions)
- 4x - Rotating Encoders with pressure function. (12 functions)
Step 3: Install all components
The next step is to use a (digital) caliper to measure the diameter of all switches and buttons. Then mark these on the top of the plastic box and drill the montagegegates. Tip: first drill the holes with a smaller drill bit. This ensures a nicer and better finish.
The next step is optional, but definitely recommended. Once all the holes have been drilled, you can finish the cover nicely with a carbon vinyl wrap. This provides a robust and genuine racing look. Finally, install all switches, buttons and encoders on the box. So, it's starting to look like something! In the next step, we will connect the wiring to the Arduino ProMicro board.
Step 4: Connecting the wiring
This button box uses a 5×5 Matrix grid for wiring the buttons and switches. Each red dot in the diagram represents a push switch. For a complete diagram and wiring diagram of all switches, I recommend purchasing AMSTUDIO's manual to support this project.

Step 5: Wiring diagram
This is the step where the magic-happens! Grab your soldering iron because we are finally going to do some real technical work. In this step, we are going to connect and solder all switches, encoders and push buttons on the Arduino board. Follow the wiring diagram from the manual. This requires a lot of patience and extreme precision to get it right. So take your time for this! The next step is to program the Arduino board.

Step 6: Configure your Arduino board
Download the Arduino software and install it on a PC. Next, connect the USB cable from the PC to the Arduino ProMicro board. Next, open the Arduino software and we need to add some libraries. If you have purchased the manual, you will be provided with a ‘Button Box Sketch’ file. You can then open this file and upload it into the Aruino software.

Step 7: Installing GitHub Libraries
Once you have installed the Arduino software, download the Joystick Library on GitHub. Click ‘ Clone or Download’ and save the file to your PC.
Open the saved file and make a copy of the Joystick folder on your desktop. Next, place the Joystick folder in the folder: ...ArduinoLibraries
The next step is to install the ‘Keypad.h’ library. You do this as follows. Go to ‘Sketch > Include Library > Manage Libraries’. Then search for ‘Keypad.H’ by Mark Stanely, Alexander Brevig and click ‘install’. Then click on ‘Tools’ select ‘Board’ and click on ‘ Arduino/Genuino Micro’.

As a final step, go to Tools > Port > COM17 (Arduino/Genuino Micro)

Step 8: Upload your sketch to your Arduino board
We have arrived at the final step! Fortunately, this is a fairly simple step. Finally, you click ‘Verify’ and then ‘Upload’. The software is now uploaded to the Arduino. Well, that wasn't too bad after all! This sketch (software) remains stored on the Arduino board even when the power/usb is disconnected.
Congratulations! You have created your own sim racing button box
Congratulations! You have successfully created your own button box with a whopping 32 functions! And now: let's play! Start up your favourite racing game and map all functions to the new button box.
As you can see, these are all pretty simple and easy steps. Yes, it will take you some time. But it's more than worth it! Even without any technical knowledge and background, I found making it a really fun project which was very satisfying. Yes, you need some patience for this. Especially ordering all the parts via Aliexpress took some time. But once everything arrived, building could begin and the above video and manual helped me through it easily.
My experience: start today!
In total, building it took me about 2 evenings. I especially enjoyed soldering and programming the Arduino board. I am very proud of the end result! For a few tenner you have a fantastic button box for years of racing fun!
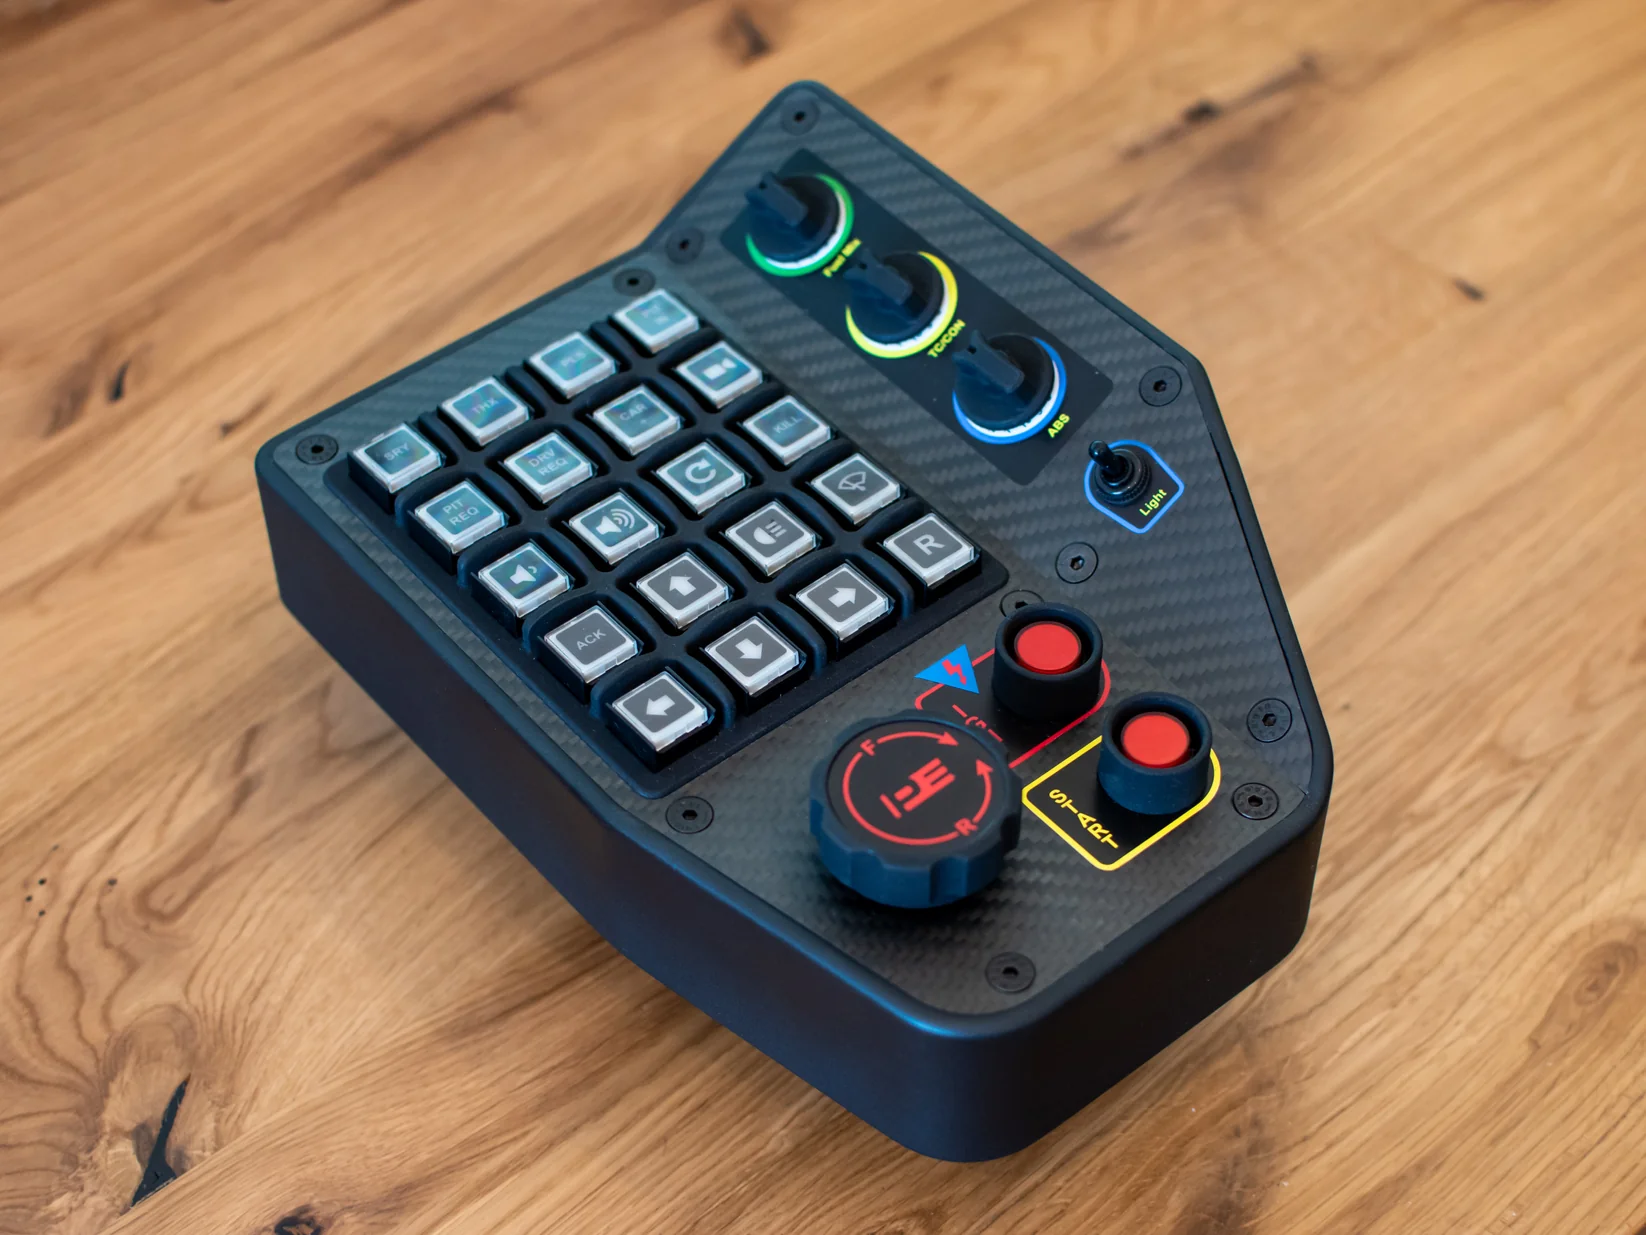
GTE Button Box from Pokornyi Engineering
- Comprehensive step-by-step guide
- Bill-Of-Materials (BOM) included
- Only €22
Sim racing DIY
I hope this blog has inspired you to get started yourself. Want more DIY projects for your sim rig now? Then take a look at the articles below óor check out the digital do-it-yourself manuals from Pokornyi Engineering:
- Here's how to build a Sim Racing Wind Simulator!
- Making your own simflag flagspotter is how you do it!
- Convert Your Old iPhone To A Sim Racing Dashboard
- DIY sim rig building? Here are the pros and cons!
- Building a DIY Sim Racing Roof: This is how you do it! (9 Steps)
- Sim Rig Ideas: Discover The Magic Of Foam Board!